长文本跨页测量
请先打开CaseStyudy目录下的文件"PDFCreator示例.Table"后再运行本节的示例代码。
上一节的文本测量示例还有有一个不足:一段文本只能绘制到同一个页面中。
有时文本需要跨页测量绘制,例如:
要实现文本跨页绘制,就需要分多次测量文本,所以需要用到MeasureString的这个语法:
MeasureString(text, font, width, sf, firstChar)
其中firstChar用于指定本次测量的起始位置。
我改写了上一节的lambda过程,可以完美地实现跨页测量和绘制文本,代码如下:
Dim
DrawText =
Function
(tText
As
String,
tFont
As
Font, tRect
As
RectangleF, tAlignment
As
stringAlignment, tUnderLine
As
Boolean,
tDistance
As
Integer)
Dim
tsf
As
New
StringFormat
tsf.Alignment = tAlignment
'设置对齐方式
tRect.Height = tRect.Height + (rectPage.Bottom - tRect.Bottom)
'剩余空间全部分配给tRect
If
tRect.Height <= 0
Then
'如果没有剩余空间
pdc.NewPage()
'则另起一页
tRect = rectPage
End
If
Dim
nextChar
As
Integer
= 0
'定义一个变量,用于记录开始绘制字符的位置,默认为0
,也就是从第一个字符开始绘制
While
nextChar < tText.Length - 1
'如果还有剩余字符没有绘制
Dim
firstChar = nextChar
'用于记录每次绘制的开始位置
nextChar = pdc.DrawString(tText, tFont, color.Black, tRect, nextChar,
tsf)
'注意DrawString返回的就是剩余内容的起始位置
If
nextChar < tText.Length - 1
Then
'如果还有剩余字符没有绘制
pdc.NewPage()
'则另起一页
tRect = rectPage
Else
'如果已经绘制完毕
tRect.Height = pdc.MeasureString(tText, tFont, trect.Width, tsf,
firstChar).Height
'计算最后一次绘制字符串的高度
End
If
End
While
If
tUnderLine
Then
'如果要绘制下划线
pdc.DrawLine(pens.Black, tRect.Left, tRect.Bottom, tRect.Right,
tRect.Bottom)
End
If
tRect.Offset(0, trect.Height + tDistance)
'移到下一个内容的起始位置
Return
tRect
'返回tRect
End
Function
示例
下面是完整的测试代码,请在命令窗口测试执行:
Dim
file
As
String
=
"c:\temp\test.pdf"
Dim
pdc
As
New
PDFCreator()
pdc.PaperKind = Drawing.Printing.PaperKind.B5
Dim
rectPage
As
RectangleF = pdc.PageRectangle()
rectPage.Inflate( - 72, - 72)
'设置页边距为72磅,也就是2.54厘米
'用于测量、定位和绘制文本的lambda过程
Dim
DrawText =
Function
(tText
As
String,
tFont
As
Font, tRect
As
RectangleF, tAlignment
As
stringAlignment, tUnderLine
As
Boolean,
tDistance
As
Integer)
Dim
tsf
As
New
StringFormat
tsf.Alignment = tAlignment
'设置对齐方式
tRect.Height = tRect.Height + (rectPage.Bottom - tRect.Bottom)
'剩余空间全部分配给tRect
If
tRect.Height <= 0
Then
'如果没有剩余空间
pdc.NewPage()
'则另起一页
tRect = rectPage
End
If
Dim
nextChar
As
Integer
= 0
'定义一个变量,用于记录开始绘制字符的位置,默认为0
,也就是从第一个字符开始绘制
While
nextChar < tText.Length - 1
'如果还有剩余字符没有绘制
Dim
firstChar = nextChar
'用于记录每次绘制的开始位置
nextChar = pdc.DrawString(tText, tFont, color.Black, tRect, nextChar,
tsf)
'注意DrawString返回的就是剩余内容的起始位置
If
nextChar < tText.Length - 1
Then
'如果还有剩余字符没有绘制
pdc.NewPage()
'则另起一页
tRect = rectPage
Else
'如果已经绘制完毕
tRect.Height = pdc.MeasureString(tText, tFont, trect.Width, tsf,
firstChar).Height
'计算最后一次绘制字符串的高度
End
If
End
While
If
tUnderLine
Then
'如果要绘制下划线
pdc.DrawLine(pens.Black, tRect.Left, tRect.Bottom, tRect.Right,
tRect.Bottom)
End
If
tRect.Offset(0, trect.Height + tDistance)
'移到下一个内容的起始位置
Return
tRect
'返回tRect
End
Function
'以下为内容绘制代码
Dim
rcCurrent
As
RectangleF = rectPage
'rcCurrent为绘制区域,我们将通过调整rcCurrent的位置和高度,来实现动态布局
Dim
fntName
As
New
Font("微软雅黑",
10, FontStyle.Bold)
'员工姓名字体
Dim
fntMemo
As
New
Font("宋体",
10)
'员工备注字体
For
Each
r
As
Row
In
Tables("员工").Rows
Dim
memo
As
String
= r("备注")
memo = memo & memo & memo
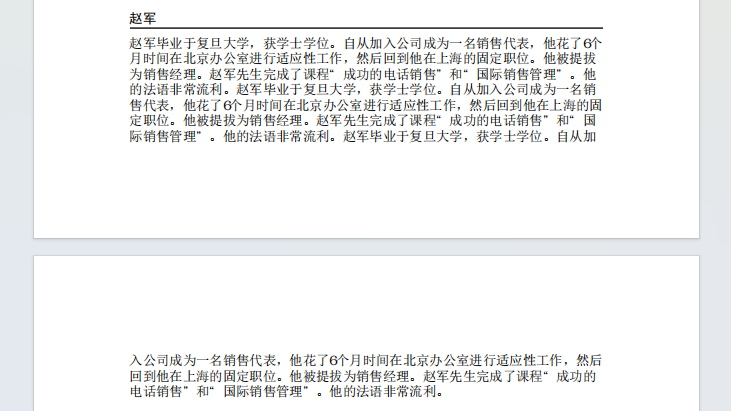
rcCurrent = DrawText.Invoke(r("姓名").ToString(),
fntName, rcCurrent, StringAlignment.Near,
True,
5)
'绘制员工姓名
rcCurrent = DrawText.Invoke(memo, fntMemo, rcCurrent,
StringAlignment.Near,
False,
25)
'绘制员工备注
Next
pdc.Save(file)
Process.Start(file)